Choosing the right coffee for your AeroPress
Because the AeroPress gives you so much control over the variables of brewing, it amplifies the quality of whatever you put into it. Good coffee gets noticeably better. Stale or low-grade coffee has nowhere to hide.
Mass-market supermarket coffee, typically commodity grade, roasted dark to mask inconsistency, tends to taste intensely smoky and flat when pressed under pressure. The AeroPress extracts efficiently, and it will faithfully extract whatever character is there. If the character is mostly bitterness, that’s what you’ll taste.
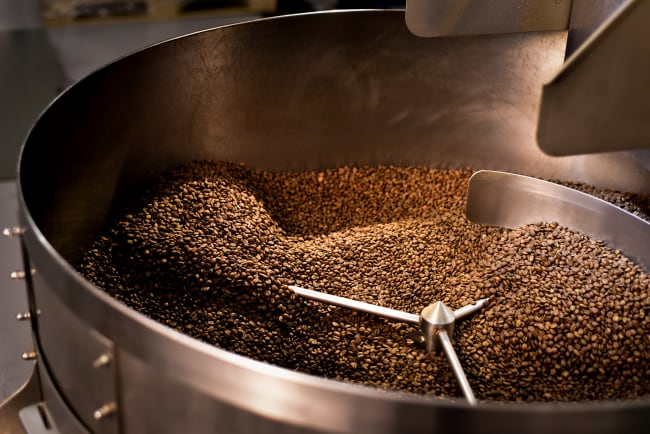
Freshly roasted speciality coffee, scored at 84 points or above, behaves completely differently in the brewer. The natural sugars, the aromatic oils, the distinct character of the origin – all of it comes through more clearly when the extraction is even and controlled.
For the standard upright method, a light or medium roast from a high-altitude African or Central American origin works beautifully – Rwanda or Kenya for floral, fruit-forward brightness, Colombia or Guatemala for citrus and stone fruit. The paper filter preserves the clarity that makes these coffees so interesting.
For the inverted method, a medium or dark Brazilian or Colombian roast is the natural choice. Full immersion draws out the richer, deeper compounds in the bean, and a chocolatey, nutty base holds up well to the extended steep.
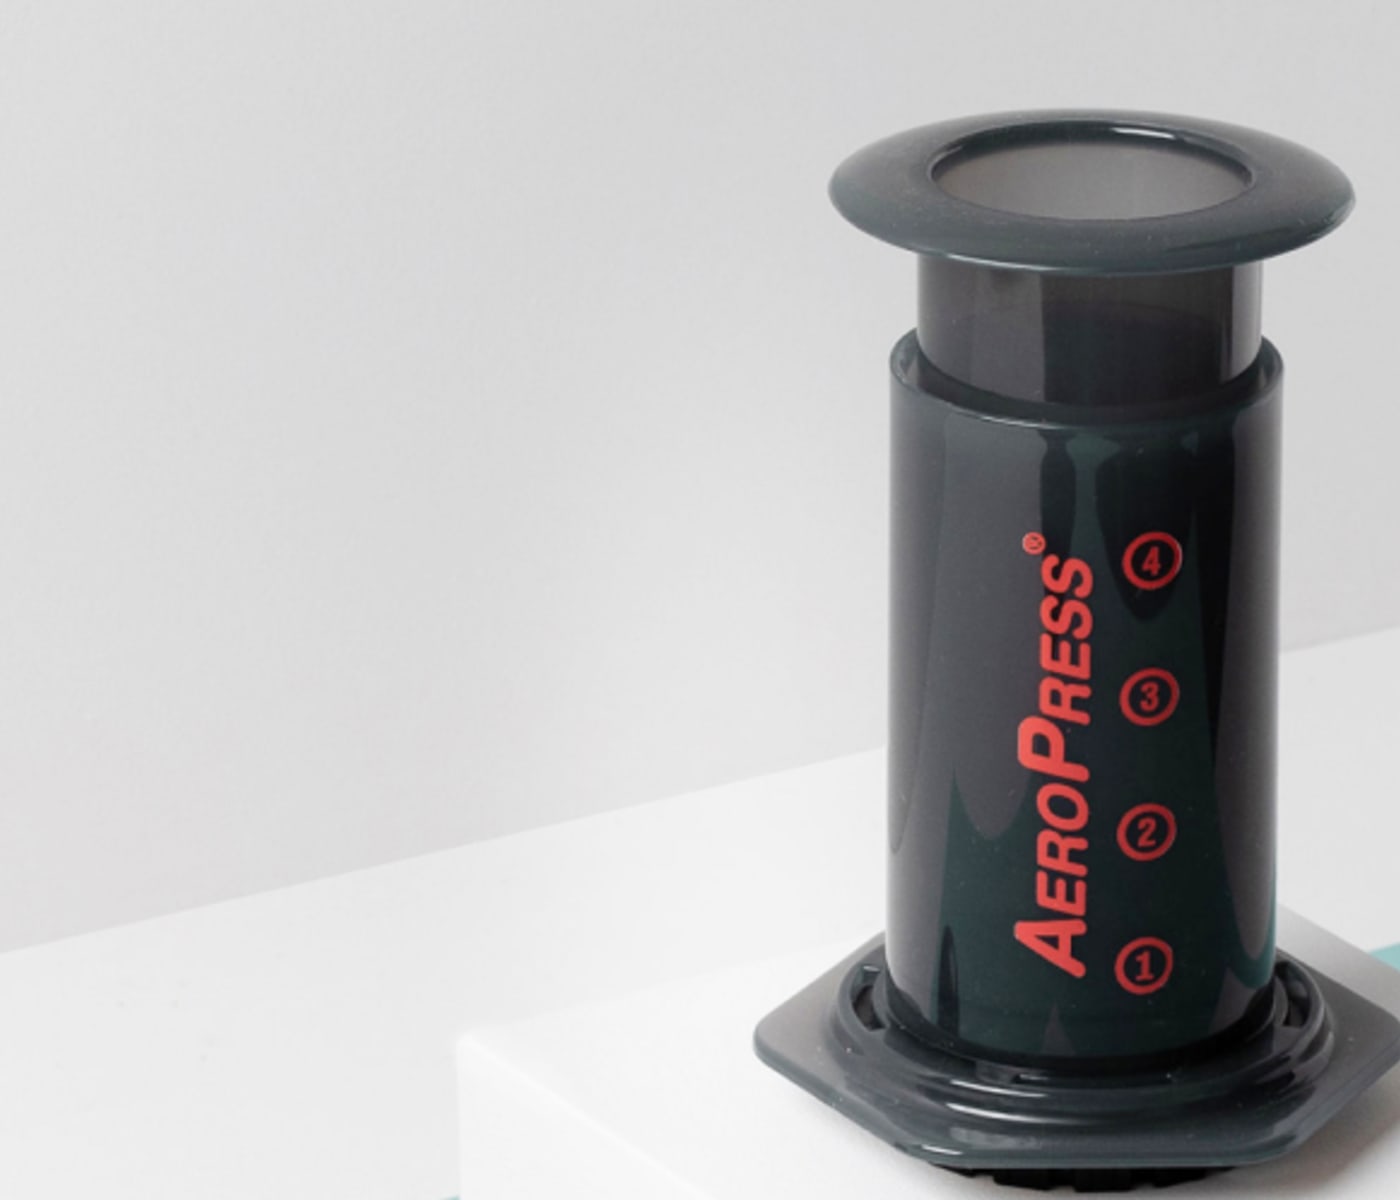
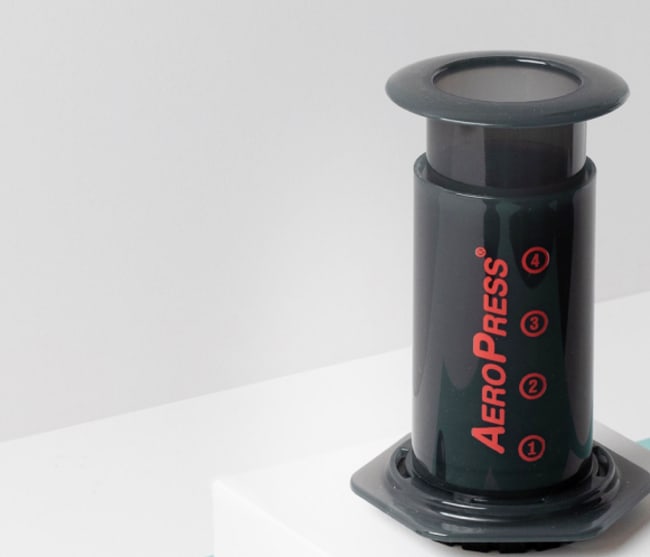
A standard AeroPress recipe
This is a reliable starting point. Once you’re comfortable with the basics, the AeroPress rewards experimentation with grind size, water temperature, steep time, and ratio.
You’ll need:
- An AeroPress and paper filter.
- 15g of medium-fine ground coffee.
- 200ml of water.
- A mug and a timer.
Method:
Rinse the paper filter with a little hot water and attach the filter cap to the chamber. Place the chamber over your mug. Add 15g of medium-fine ground coffee to the chamber.
Start your timer and pour in 200ml of water just off the boil. Stir briefly to make sure all the grounds are saturated. Insert the plunger just enough to create a seal.
At one minute, begin pressing steadily and evenly. The press should take around 20 to 30 seconds. Stop pressing when you hear a gentle hiss – that’s the air being pushed through, which is your signal that the extraction is complete.
Taste and adjust. If the cup feels sour or thin, try a finer grind or a slightly longer steep. If it feels bitter or harsh, try a coarser grind or shorter steep. The AeroPress responds clearly to small changes, which is what makes it such a good brewer to learn on.
Rinse the paper filter with a little hot water and attach the filter cap to the chamber. Place the chamber over your mug. Add 15g of medium-fine ground coffee to the chamber.
Start your timer and pour in 200ml of water just off the boil. Stir briefly to make sure all the grounds are saturated. Insert the plunger just enough to create a seal.
At one minute, begin pressing steadily and evenly. The press should take around 20 to 30 seconds. Stop pressing when you hear a gentle hiss – that’s the air being pushed through, which is your signal that the extraction is complete.
You can watch a full tutorial over on our AeroPress brew guide.
FAQs
What is the best grind size for AeroPress coffee?
A medium-fine grind – roughly the texture of table salt – is the reliable starting point for most recipes. Too coarse and the water passes through too quickly, producing a sour, under-extracted cup.
Too fine and the resistance makes the plunger difficult and potentially unsafe to press. The AeroPress handles a wider range of grind sizes than most brewers, which makes it a good device for experimenting once you have the basics down.
How do you clean the AeroPress?
Cleaning takes about ten seconds. Once your press is complete, unscrew the filter cap and push the plunger all the way through to eject the compacted disc of spent grounds directly into your food waste bin.
Rinse the rubber seal under warm water and it’s ready for the next brew. There are no fragile parts, no descaling, and nothing that requires particular care.
Should I use paper or metal filters?
Paper filters absorb the heavier coffee oils and micro-sediment, producing a clean, bright cup with high clarity. Metal mesh filters allow those oils to pass through, giving a heavier body and richer mouthfeel – closer to a cafetière in texture.
Paper is the better choice if you want to highlight the acidity and delicate notes of a light roast. Metal works well if you prefer something fuller and more rounded. Both are worth trying.
Is the AeroPress good for travelling?
It’s arguably the best travel coffee maker available. The materials are shatterproof and lightweight, which means it can go into a backpack or a suitcase without wrapping or worry.
Many people store a hand grinder inside the hollow plunger chamber to save space. It works anywhere you have access to hot water – a hotel room, a campsite, a long-haul flight if you’re persistent enough.
What coffee works best in an AeroPress?
Freshly roasted speciality coffee makes a significant difference. Light and medium single-origin roasts from Africa or Central America work particularly well in the standard method, where the paper filter preserves clarity and the bright fruit notes come through cleanly.
For the inverted method, a medium or dark Brazilian or Colombian roast produces a rich, chocolatey cup with more body and sweetness.
Whatever you choose, freshness matters – the AeroPress is an efficient extractor, and stale beans produce stale coffee regardless of the method. At Pact, we roast fresh to order.
Ready to brew better at home or on the road? Explore Pact’s full range of freshly roasted 84+ point speciality coffees at pactcoffee.com – roasted fresh to order and matched to your brewing method.
Need a bag today? Find our speciality-grade coffee in the coffee aisle at Waitrose.